

There is a particular kind of frustration familiar to anyone who has spent years on commercial music streaming. An album you loved quietly disappears because of a licensing dispute. The playlist you built gets reshuffled by an algorithm that would rather sell you a podcast. The monthly bill creeps up again. And through it all, you never actually own anything: you are renting access to a catalog that can change or vanish without warning.
Self-hosting your own music streaming server fixes all of that. You run a small piece of open-source software on hardware you already own, point it at a folder full of music you legally have, and stream it to your phone, laptop, car, and living room from anywhere in the world. No subscription. No algorithm. No album ever disappearing. Your library is exactly as large as your storage allows, which is why people describe the result as “unlimited streaming for free.”
That phrase deserves an honest asterisk right up front, and this guide will keep being honest with you throughout. The software is genuinely free and open-source. The streaming is genuinely unlimited in the sense that no company caps your listening or charges per stream. But you are trading a monthly fee for owning the pieces: the hardware, the electricity to run it, the storage for your files, and the bandwidth to stream them. For most people that trade is a spectacular deal, sometimes just a few dollars a month in power for a device you leave running anyway, and the music you host has to be music you actually have the right to host. More on that later, because it matters.
By the end of this guide you will understand why self-hosting is worth it, what hardware and network you need, how to choose a server, and how to walk through a complete Navidrome deployment with Docker. We will cover organizing and tagging your library so it looks beautiful in every app, three different ways to reach your server securely from outside your home, a sane backup strategy, and troubleshooting for when things inevitably go sideways. Let’s build something you own.
Why Self-Host Your Music?
The pitch is simple: ownership, privacy, quality, and cost.
Ownership means your catalog is permanent. The music you add stays until you remove it. Nothing is licensed away, region-locked, or silently swapped for a “remastered” version you did not ask for. If you have been collecting music for twenty years, all of it lives in one place, searchable and instantly streamable.
Privacy means nobody is building a profile of your listening habits to sell ads or train recommendation engines. Your server logs who logged in, and that person is you. There is no third party in the middle.
Quality means you decide the format. Want lossless FLAC for your good headphones? Host FLAC. Most self-hosted servers can transcode on the fly, sending a smaller file to your phone on mobile data and the full-quality original to your home network, all from the same library.
Cost is where the “free” comes in, with the asterisk we already acknowledged. A typical commercial subscription runs somewhere north of a hundred dollars a year, forever. A self-hosted setup can run on a Raspberry Pi or an old laptop you already own, costing you only electricity and whatever you spend on storage. After the first year, most people are well ahead, and they own the result.
There is also a quieter reason that keeps people hooked once they start: it is genuinely satisfying. You end up with a lovingly curated library, a fast and clean interface, and the pleasant feeling of running your own little corner of the internet.
What You’ll Need: Hardware, Storage, and Network
You do not need much. One of the best things about a music server is how light it is compared to, say, video streaming. Music files are small and audio transcoding is cheap, so hardware that would struggle to serve a single 4K movie can happily stream music to your whole household.
Hardware Options
A Raspberry Pi is the classic choice and an excellent one. A Raspberry Pi 4 or 5 with a couple of gigabytes of RAM is more than enough. Navidrome, the server we will focus on, is famously lightweight and runs comfortably on a Pi with very little memory to spare. It sips power, stays silent, and tucks away anywhere.
An old PC or laptop is arguably the best starter option because it costs nothing. That machine gathering dust in a closet has more than enough power to run a music server for a family. A laptop has the bonus of a built-in battery, which acts as a tiny uninterruptible power supply during brief outages.
A NAS (Network Attached Storage) like a Synology, QNAP, or a TrueNAS build is ideal if you want storage and streaming in one box. Most modern NAS units support Docker (Synology calls it “Container Manager”), so the exact same setup in this guide applies. Your music already lives on the NAS, so pointing a server at it is trivial.
A VPS (Virtual Private Server) rented from a cloud provider is the option to consider carefully. It gives you a machine with a public address that is easy to reach from anywhere, but you pay monthly for it and, crucially, you pay for storage and bandwidth. A large lossless library on a VPS can get expensive fast, and streaming lots of data may bump against a provider’s fair-use expectations. For most people, hosting at home on hardware they own is both cheaper and more in the spirit of “free.” A VPS makes more sense as a lightweight relay or reverse proxy in front of a home server than as the place your terabytes of music actually live.
Storage
Storage is the one place your library size translates directly into a real requirement. A rough rule of thumb: high-quality lossy files (like 320 kbps MP3 or comparable AAC) run around 1 MB per minute of music, so an album is roughly 40 MB and a thousand albums is around 40 GB. Lossless FLAC is several times larger, often 3 to 5 times, so plan accordingly if you rip CDs to FLAC.
For a modest collection, the internal drive on your PC or the SD card and USB drive on a Pi is fine. For a serious library, use a dedicated hard drive or an SSD. Mechanical drives are cheap per terabyte and perfectly fast enough for audio. Whatever you choose, remember that this drive holds files you may have spent years assembling, so we will talk about backups later. Storage is where “unlimited” lives: your library is only as big as the disk you are willing to buy, and disks are cheap.
Network
Your home internet’s upload speed is what matters for streaming out to the world, because your server is sending music to you. Audio is undemanding: even a high-bitrate lossless stream is only a couple of megabits per second, and transcoded mobile streams are a fraction of that. Almost any modern broadband connection can serve music to several people at once. Streaming inside your own home over Wi-Fi or Ethernet does not touch your internet connection at all and is effectively instant.
Choosing Your Server Software
Several excellent open-source projects can be your music server. Here is an honest lay of the land in 2026.
Navidrome is the one most people should pick, and it is the server we will deploy in this guide. It is written in Go, which makes it tiny and fast: it idles at around 60 MB of RAM and indexes tens of thousands of tracks in seconds, so it runs beautifully on a Raspberry Pi. It has a clean, modern web interface, supports smart playlists, and speaks the Subsonic API, which means an enormous ecosystem of polished mobile and desktop apps works with it out of the box. For personal and family music streaming, it is hard to beat.
Jellyfin is a full media server that handles movies and TV in addition to music. If you want one server for your entire media collection, Jellyfin is a strong all-in-one. Its music-specific features are good and improving, though a dedicated music server like Navidrome still feels more focused and snappier for pure audio. Choose Jellyfin if music is one part of a larger media ambition.
Airsonic-Advanced is the veteran, a community-maintained descendant of the original Subsonic and Airsonic. It has the most complete Subsonic API implementation and extras like UPnP/DLNA and LDAP authentication, which appeal to people with more complex or “enterprise-flavored” needs. It uses more resources than Navidrome and its interface feels more dated, but it is rock-solid and endlessly compatible.
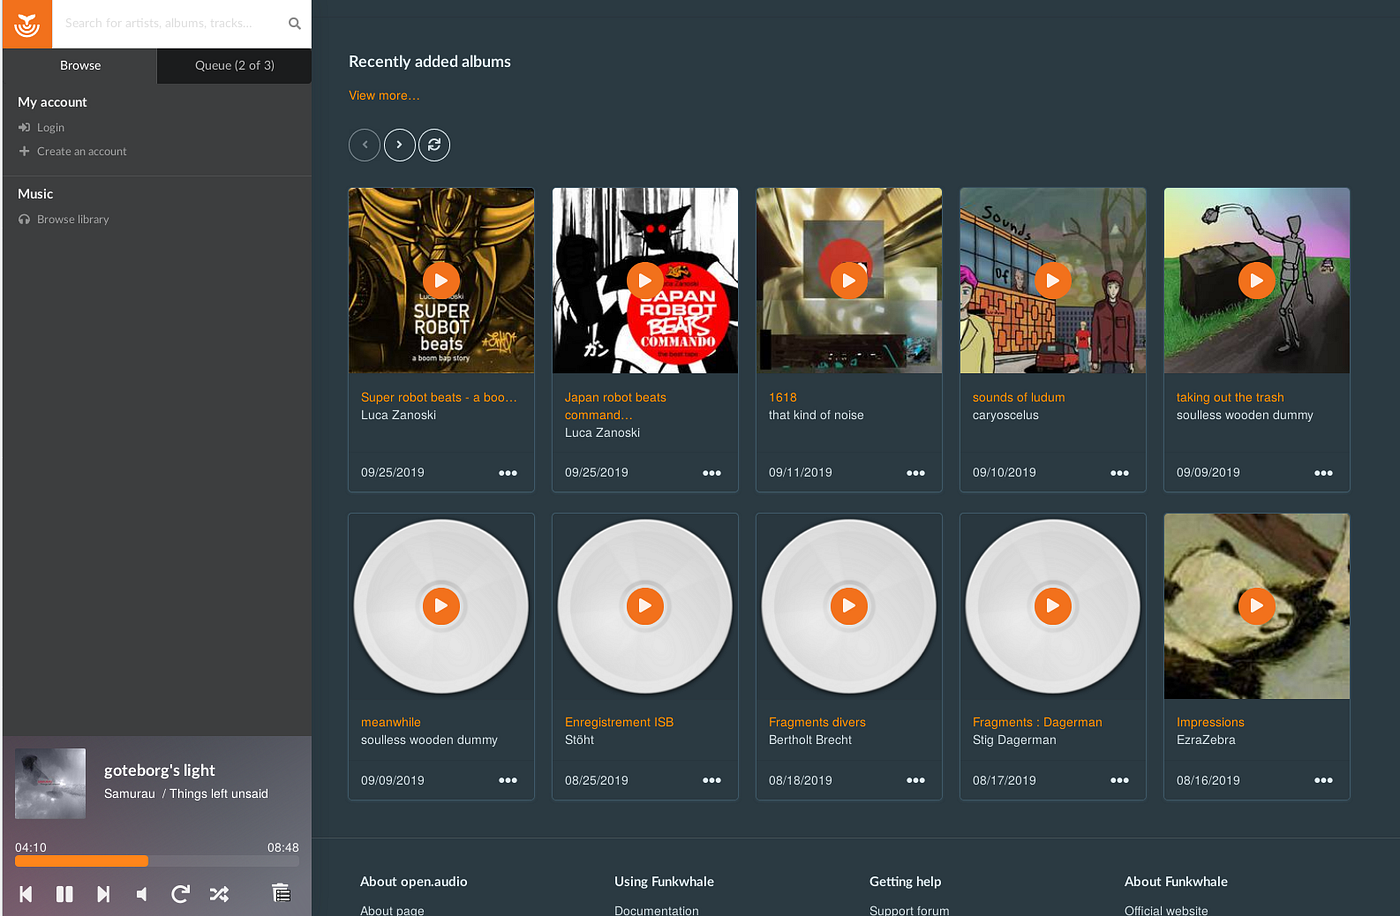
Funkwhale is the social, federated option. Built on ActivityPub (the same technology behind Mastodon), it lets servers share and discover music across a decentralized network, and it includes podcast and radio features. It is the most resource-hungry of the bunch, idling around 350 MB of RAM. Pick Funkwhale if the community and sharing angle excites you more than raw simplicity.
Others worth knowing: Ampache is a mature PHP-based server with a huge feature set; Gonic is another lightweight Go server in the Navidrome spirit, popular for its low footprint; and LMS (Lightweight Music Server) is prized for its efficiency and clever similarity-based recommendations. Any of these can be excellent. But for the best balance of simplicity, speed, beauty, and app support, this guide recommends Navidrome, and everything below uses it.
The Walkthrough: Deploying Navidrome with Docker
We will use Docker, the standard way to run self-hosted software today. Docker packages an application and everything it needs into a container, so you avoid dependency headaches and you can update or remove the whole thing cleanly. If you have never used it, don’t worry; the steps below are short.
Two quick notes before we start. First, the commands here are standard, widely documented patterns that you should adapt to your own paths and system, not copy blindly. Second, every path in angle brackets like <...> is a placeholder you replace with your real path.
Step 1: Install Docker
On a Linux machine (including a Raspberry Pi running Raspberry Pi OS), the official convenience script is the quickest route:
bash
curl -fsSL https://get.docker.com | shThen add your user to the docker group so you don’t have to prefix every command with sudo, and log out and back in for it to take effect:
bash
sudo usermod -aG docker $USEROn a NAS like Synology or QNAP, install the Docker/Container Manager package from the vendor’s app store instead. On Windows or macOS, install Docker Desktop. Modern Docker includes Compose as the docker compose subcommand, which is what we will use.
Verify it works:
bash
docker --version
docker compose version
Step 2: Organize Your Folders
Decide where two things will live: your music and Navidrome’s data (its database and cache). For example:
- Music:
/home/<you>/music - Navidrome data:
/home/<you>/navidrome/data
Create the data folder now:
bash
mkdir -p /home/<you>/navidrome/dataPut at least a few albums into your music folder so you have something to see on first login. We will cover getting your library properly organized in the next major section.
Step 3: Write the docker-compose File
In your navidrome folder, create a file named docker-compose.yml. This example is adapted from Navidrome’s official documentation:
yaml
services:
  navidrome:
    image: deluan/navidrome:latest
    user: 1000:1000
    ports:
      - "4533:4533"
    restart: unless-stopped
    environment:
      ND_LOGLEVEL: info
      ND_SCANSCHEDULE: 1h
      ND_SESSIONTIMEOUT: 24h
    volumes:
      - "/home/<you>/navidrome/data:/data"
      - "/home/<you>/music:/music:ro"
A few things worth understanding rather than just pasting:
image: deluan/navidrome:latestpulls the official Navidrome image. Some people prefer to pin a specific version tag instead oflatestso updates are deliberate.user: 1000:1000should match the user and group IDs that own your music files. On Linux, runidto see yours. Getting this right prevents the most common permission problems. If your IDs are1000:1000(typical for the first user account), you are already set.ports: "4533:4533"exposes Navidrome’s web interface on port 4533./dataholds the database and cache;/musicis your library, mounted read-only (:ro) so the server can never modify or delete your files.- The environment variables are optional.
ND_SCANSCHEDULE: 1hrescans the library hourly for new music;ND_SESSIONTIMEOUTkeeps you logged in longer;ND_LOGLEVELcontrols how chatty the logs are. Navidrome has many more options you can add later, and you can move them into anavidrome.tomlconfig file in the data folder if you prefer.
Step 4: Start It Up
From the folder containing your docker-compose.yml:
bash
docker compose up -dThe -d runs it detached, in the background. Docker downloads the image the first time, which takes a moment, then starts the container. Check that it is running and watch the logs:
bash
docker compose ps
docker compose logs -f
On first start, Navidrome scans your music folder. For a large library the initial scan can take a little while, but it is fast; you can watch progress in the logs. Press Ctrl+C to stop following the logs (the container keeps running).
Step 5: First Login
Open a browser on any device on your network and go to your server’s address on port 4533. If you are on the server itself, that is http://localhost:4533. From another device, use the server’s local IP address, something like http://192.168.1.50:4533. You can find that IP on Linux with hostname -I or ip addr.
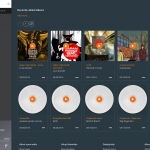
The very first time you load Navidrome, it asks you to create an admin account. Choose a strong, unique password; this account controls your server. Once you are in, you should see your albums with cover art, artists, and playlists. Congratulations, you are self-hosting music.
From the admin settings you can create additional user accounts for family members, each with their own playlists and play history but sharing the same underlying library.
Step 6: Add Client Apps
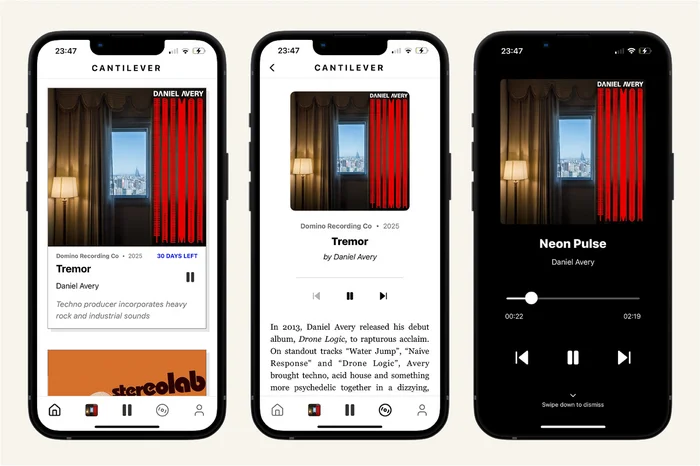
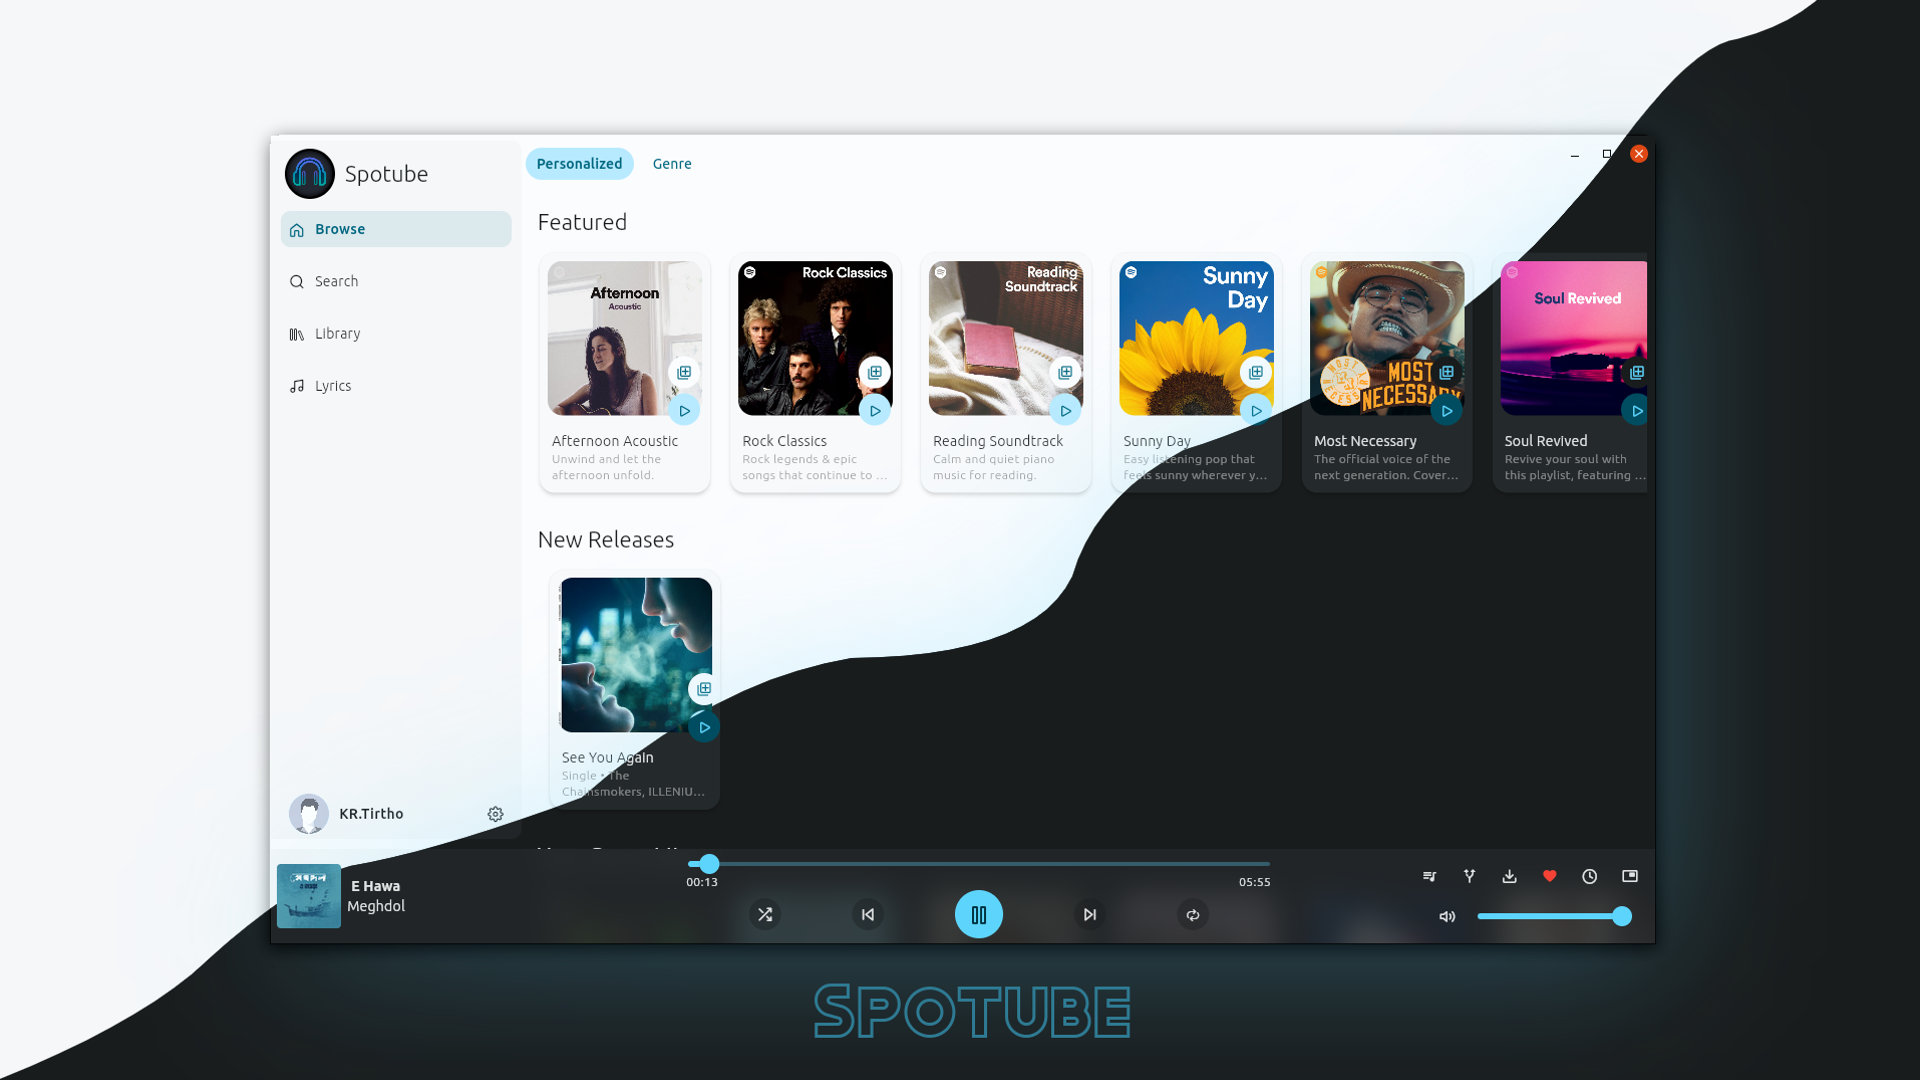
The web player is genuinely good and works on any device with a browser. But the magic of Navidrome is the huge ecosystem of Subsonic-compatible apps, because Navidrome speaks that API. To connect any of them, you enter your server’s address, your username, and your password, and that’s it.
Popular, well-regarded clients as of 2026 include:
- iOS / iPadOS / macOS: Amperfy (free, open-source, with offline support, CarPlay, and Siri), play:Sub, Substreamer, and Narjo for lossless and synced lyrics.
- Android: Symfonium (paid, deeply customizable, with a powerful equalizer and Android Auto), DSub, Substreamer, and Chora for a clean, lightweight Material 3 experience.
- Desktop / Web: Feishin and Supersonic are excellent cross-platform desktop players with gapless playback and lyrics; the built-in web player covers everything else.
Try a couple and keep the one whose feel you like. Most support offline downloads so you can cache albums for a flight or a commute with no signal.
Organizing and Tagging Your Library
Here is the truth that separates a frustrating library from a delightful one: your server is only as good as your metadata. Navidrome and its cousins build everything, albums, artists, cover art, genres, from the tags embedded in your music files, not from folder names. Spend a little time here and your library will look immaculate in every app forever.
The Two Essential Tools
MusicBrainz Picard is the gold standard for tagging. It is free, open-source, and cross-platform. Picard “fingerprints” your audio and matches it against the enormous, community-run MusicBrainz database, then writes correct, consistent tags: album, artist, track number, release year, and high-quality cover art. Drag in a messy folder, click “Scan,” review the matches, and save. It is the single highest-leverage thing you can do for your library.
beets is the power user’s command-line tool. It catalogs, tags, and organizes your entire collection with scriptable precision, renaming files into a tidy structure and fetching metadata automatically. It has a steeper learning curve than Picard but is unmatched for large libraries and automation. A typical import looks like:
bash
beet import /path/to/new/musicbeets walks you through matching each album, then files everything neatly according to your configuration. Many people use Picard for quick one-off cleanups and beets to manage the collection as a whole.
Folder Structure
While servers read tags rather than folders, a clean folder layout still helps you and your backups. A widely used convention is:
Music/
  Artist Name/
    Album Name (Year)/
      01 - Track Title.flac
      02 - Track Title.flac
      cover.jpg
A cover.jpg or folder.jpg inside each album folder is a reliable fallback for cover art if a file’s embedded artwork is missing. Consistency is what matters most; pick a pattern and let beets or Picard enforce it.
Getting Music Legally
Let’s be direct about the part the “free unlimited streaming” framing tends to skip: a self-hosted server is a tool, and it is only as legal as the music you put in it. The software is completely legitimate. Hosting music you have no right to distribute is not, and streaming it to others compounds the issue. The good news is that filling a library legally is easy and often free or cheap.
Rip your own CDs and vinyl. If you own physical media, making personal digital copies for your own use is the oldest and most straightforward source. A tool like Exact Audio Copy or dbPoweramp rips CDs to FLAC, and Picard tags them.
Buy DRM-free downloads. Bandcamp is a favorite in this community because purchases come as clean, DRM-free files (often FLAC) that you own outright and can drop straight into your library. Many artists sell directly, and you support them far more directly than streaming royalties do. Other DRM-free stores exist too; the key word is DRM-free, meaning the files are yours to keep and move.
Explore Creative Commons and freely licensed music. The Free Music Archive and similar collections offer large catalogs of music released under licenses that explicitly permit free download and personal use. It is a wonderful way to grow your library and discover artists, entirely above board.
Re-download purchases you already made. Music you bought over the years from various stores can often be re-downloaded and added.
The principle is simple and worth internalizing: host music you own or that is freely licensed, and keep your server for yourself and your household rather than running a public jukebox for strangers. Do that, and you are on solid ground.
Secure Remote Access: Three Approaches Compared
So far your server works beautifully at home. To reach it from your phone on mobile data or from a friend’s house, you need remote access, and this is the step where security matters most. Never simply forward a port and expose Navidrome’s login directly to the raw internet without protection; that invites brute-force attacks. Here are three good approaches, from simplest to most public.
Option 1: A Private Mesh VPN (Tailscale or WireGuard)
This is the approach most people should start with, and often end with. Tailscale builds a private encrypted network between your devices using WireGuard under the hood, with almost no configuration. You install it on your server and on your phone and laptop, sign in, and your devices can reach each other by name from anywhere as if they were on the same home network. Nothing about your server is exposed to the public internet at all; only your own enrolled devices can connect.
The trade-off is that every device that wants to listen needs the VPN client installed and running. For personal use that is a non-issue and arguably a feature. Plain WireGuard offers the same security with more manual setup and no dependency on a third-party coordination service, which some prefer for maximum self-reliance. For privacy and simplicity, a mesh VPN is the recommended default.
Option 2: A Reverse Proxy with Caddy or Nginx
If you want a real web address like music.yourdomain.com that works in any browser without a VPN client, put a reverse proxy in front of Navidrome. Caddy is the friendliest choice because it obtains and renews HTTPS certificates automatically, giving you encryption with almost no effort. A minimal Caddy configuration is famously short:
music.yourdomain.com {
    reverse_proxy localhost:4533
}
Nginx is the more traditional, heavily documented option and does the same job with more manual certificate handling (usually via Let’s Encrypt and Certbot).
This approach requires you to own a domain name, point it at your home IP (often with a dynamic DNS service if your IP changes), and forward ports 80 and 443 on your router to the proxy. Because it exposes a login to the public internet, harden it: strong passwords, keep everything updated, and consider adding a layer like fail2ban or the proxy’s own rate limiting. The payoff is friction-free access from any browser, anywhere.
Option 3: Cloudflare Tunnel
Cloudflare Tunnel gives you a public address without forwarding any ports at all. You run a small connector on your server that makes an outbound connection to Cloudflare, and Cloudflare routes traffic to you. It hides your home IP and adds Cloudflare’s protection in front of your service, which is genuinely appealing.
There is an important caveat to flag honestly: Cloudflare’s terms have historically restricted using their proxy/CDN to serve a large volume of non-HTML content like continuous audio and video streaming on the free plan. People do run music servers through it, but you should read Cloudflare’s current terms of service yourself and be aware that heavy streaming may run against their acceptable-use expectations. For that reason, many self-hosters use Cloudflare Tunnel for convenient access and a private VPN for their heavy listening, or simply prefer options 1 and 2 for a pure streaming workload.
Which Should You Pick?
- Want the simplest, most private setup with no exposure to the public internet? Tailscale or WireGuard.
- Want a clean web address that works in any browser for you and a few trusted people? Caddy reverse proxy with a domain.
- Want to avoid opening router ports and hide your home IP, and you have read the terms? Cloudflare Tunnel, ideally paired with a VPN for the heavy streaming.
For most individuals and families, start with a mesh VPN. It is secure by default, quick to set up, and you can always add a reverse proxy later.
Backups: Protecting What You’ve Built
A library you have spent years assembling deserves protection. Two things need backing up, and they are very different in importance.
Your music files are the irreplaceable part. Follow the classic 3-2-1 principle: at least 3 copies of your data, on 2 different types of media, with 1 copy off-site. In practice that might mean your main drive, a second local drive or NAS you sync to periodically, and an off-site copy in the cloud or on a drive you keep somewhere else. A tool like rsync makes local syncs trivial:
bash
rsync -av --delete /home/<you>/music/ /mnt/backup/music/For off-site, an encrypted backup tool like restic or Borg, or a synced cloud folder, closes the loop. If your files came from CDs you still own, those discs are themselves a backup, but re-ripping a large collection is painful, so digital backups are still worth it.
Navidrome’s data folder holds the database with your playlists, play counts, favorites, and users. It is smaller and rebuildable in the sense that Navidrome can always rescan your music, but your playlists and listening history cannot be regenerated, so back this folder up too. Because your music is mounted read-only, the server itself will never harm your files; the risk you are guarding against is drive failure, not the software.
Test your backups occasionally by actually restoring a file. A backup you have never verified is only a hope.
Troubleshooting Tips
Most problems fall into a few familiar buckets. Here is how to approach them calmly.
The container won’t start, or exits immediately. Read the logs first; they almost always tell you why:
bash
docker compose logsA frequent culprit is a path in your compose file that doesn’t exist or is misspelled. Double-check every volume path.
My music isn’t showing up. This is usually one of three things. First, permissions: if the user: in your compose file cannot read the music folder, Navidrome sees nothing. Confirm the UID/GID matches the folder’s owner (ls -l on the music folder, id for your IDs). Second, the scan may not have run yet; trigger a manual rescan from Navidrome’s settings, or check the logs to see the scan complete. Third, unsupported files or bad tags: Navidrome indexes standard audio formats, and untagged files may appear under “Unknown Artist” rather than not at all.
Everything is “Unknown Artist” or the covers are missing. That is a metadata problem, not a server problem. Run the files through MusicBrainz Picard to write proper tags and embedded art, then rescan. This is by far the most common source of a disappointing-looking library, and it is entirely fixable.
I can reach it at home but not away. That is remote access, covered above. Verify your VPN is connected, or that your reverse proxy and DNS are pointing correctly, before suspecting Navidrome itself. Test the local IP on your home network first to confirm the server is healthy.
A client app won’t connect. Re-check the exact server URL (including http:// or https:// and the port), the username, and the password. Many Subsonic apps have a “test connection” button that reports precisely what failed.
How do I update? With Docker it is clean and reversible:
bash
docker compose pull
docker compose up -d
This pulls the newest image and recreates the container. Because your data and music live in mounted folders outside the container, nothing is lost. If an update ever misbehaves, you can pin the previous version tag in your compose file and roll back.
Your Setup Checklist
- Pick your hardware (Raspberry Pi, old PC/laptop, or NAS)
- Confirm you have enough storage for your library, with room to grow
- Install Docker and verify
docker compose version - Create your
musicandnavidrome/datafolders - Write and start your
docker-compose.ymlfor Navidrome - Log in on port 4533 and create your admin account
- Tag your library with MusicBrainz Picard or beets
- Install a client app on your phone and connect it
- Choose and configure a secure remote access method (start with Tailscale)
- Set up backups for both your music and Navidrome’s data folder
- Confirm all your music is legally yours to host
Conclusion
You now have everything you need to run your own music streaming service: private, permanent, high-quality, and answering to no one but you. The pieces are refreshingly simple. A small computer you likely already own, a folder of music you legally have, one lightweight open-source server, and a secure way to reach it from the world. Navidrome ties it together with a clean interface and a whole ecosystem of great apps, and the whole thing can run on a device that costs pennies a day in electricity.
Keep the honest framing in mind, because it is what makes this sustainable and worry-free. The software is free and the streaming is unlimited in every way that a subscription is not; what you are really doing is trading a recurring fee for ownership of the parts, the storage, the bandwidth, the hardware, and taking responsibility for filling your library with music you have the right to host. Do that, and you have built something that will outlast any streaming service’s licensing deals and any algorithm’s whims.
Start small. Get a handful of albums streaming to your phone this weekend, feel how good it is to press play on your own server from across town, and grow from there. Tag a little more each week, add a backup, invite your family to their own accounts. Before long you will have a library that is entirely yours, sounds exactly the way you want, and never, ever disappears. Welcome to owning your music again.